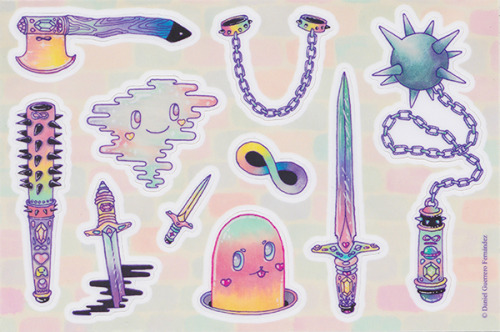
1) Will the stickers be blur?
2) How am I suppose to arrange my stickers?
3) How can I know how my stickers looks like even without waiting for the papers to be printed?
And from this blog post, I will be teaching you...
-How to get clear stickers.
-Saving spaces for more stickers.
-Making your paper into A4 sized so that it could fit the whole paper while printing without any problems.
Before I start, let me show you the difference between good quality stickers and bad quality stickers --
Left - Pictures (As a whole set) taken from google using phone.
Right- Single picture taken from google using laptop.
As u can see, the left stickers are blur and light while the right is dark and bolder.
The difference between laptops and phone makes a big difference.
Pictures from google like this-
will make the stickers become blur.
WHY?
The size of the stickers inside the pictures can't be resize. The size of the paper is fixed , it will not be A4 sized hence it will be blur.
Printed by Screenshot of phone......
A very no no right? (Lots of blank spaces taken at the bottom, top and sides!) And stickers are not clear.
When your size of the picture are not A4 sized, the printer will automatically print another sheet of paper with the remaining stickers. (We will be losing lots of space and wasting papers.....)
LET ME TEACH U HOW TO CREATE YOUR OWN STICKER PAPER!
HOW TO CREATE YOUR OWN STICKER PAPER
Step 1- Choose your tumblr sticker from google. I always choose sticker which is single like this-
After choosing your favourite tumblr sticker, save the picture.
Step 2- Open microsoft words. Click page layout, Change the margins and page size.
Change the margin into Narrow.
Change the size into A4.
Step 3- Insert the sticker that you want. Remember to insert them one by one.
Insert -> Resize -> Insert -> Resize -> Adjust
And slowly, add more and more stickers!!!!!!! Resize them, adjust them and make sure they fit well into the papers and have gaps in between so that it's easier for you to cut them out! like this ->
and the final product.....
TAAADAAH
Some problems you might face--
There's so many blank spaces at the side/top/bottom and it's taking my spaces. I am unable to put more than 2 stickers in a row.
How do i get rid of the blank spaces to save space?
CROP THE PICTURE!
Press the sticker, and at the option bar, press format and crop.
The grey spaces at the top are the blank spaces. Get rid of em, get more space!
Tadah, done!
Remember to choose clear and HD pictures from google. :)
have a nice day, xoxo.
Do view our series stickers HERE.


.png)
.png)
.png)
.png)
.png)
.png)
.png)
.png)
.png)
.png)


Thanks for sharing this one. Love how you are customizing stickers. Great job!
ReplyDelete